Elevale Reseller Checklist
Complete your Elevale reseller setup with this step-by-step checklist covering branding, billing, Stripe, client workspaces, email configuration and launch.
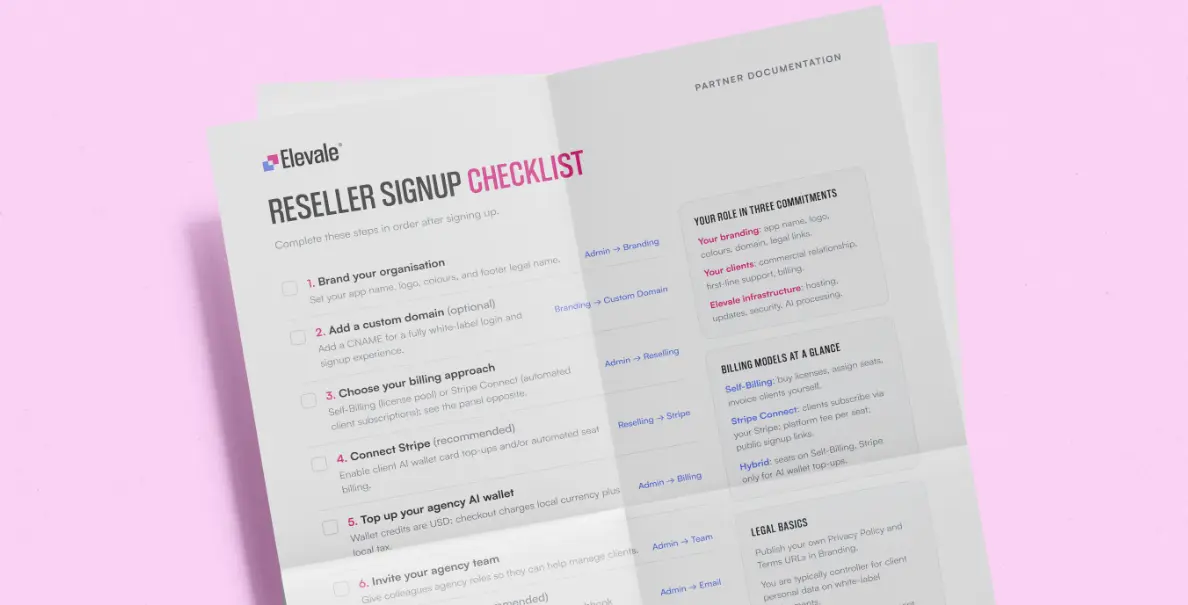
Set up your reseller account and start onboarding clients
Once you have joined the Elevale reseller programme, there are a few important steps to complete before launching your first client workspace.
This checklist walks you through the full setup process, from applying your branding and choosing a billing model to connecting Stripe, configuring client communications and inviting your first users. Complete each step in order to create a professional, fully branded experience for your clients.
1. Brand your organisation
Start by personalising Elevale with your own company branding.
Within your branding settings, you can configure your:
App name
Company logo
Brand colours
Footer legal name
These details will be used throughout your reseller environment and help ensure clients experience Elevale as part of your own service offering.
Go to: Admin → Branding
2. Add a custom domain
A custom domain is optional, but recommended for resellers who want to deliver a fully white-labelled experience.
You can add either:
A dedicated CNAME, such as
platform.yourcompany.comA fully white-labelled login and signup domain
Using your own domain helps create a more consistent client journey and keeps your reseller platform aligned with your wider brand.
Go to: Branding → Custom Domain
3. Choose your billing approach
Elevale supports different billing models depending on how you want to manage your clients and recurring revenue.
Self-Billing
Purchase licences directly from Elevale, assign seats to your clients and invoice them yourself.
This approach gives you full control over your client pricing, packages and commercial relationships.
Stripe Connect
Connect your Stripe account and allow clients to subscribe directly through your branded platform.
Elevale automatically collects the platform fee for each seat, while the remaining revenue is processed through your Stripe account.
Hybrid
Use Self-Billing for client licences while using Stripe specifically for AI wallet top-ups.
This provides greater control over subscriptions while still allowing automated AI credit payments.
Go to: Admin → Reselling
4. Connect Stripe
Connecting Stripe is recommended, particularly when using Stripe Connect or offering automated AI wallet payments.
Once connected, Stripe can support:
Automated client subscriptions
Recurring seat billing
AI wallet card payments
Local currency checkout
Applicable tax collection
Connecting Stripe reduces manual administration and makes it easier to scale your reseller service as you onboard more clients.
Go to: Reselling → Stripe
5. Top up your agency AI wallet
Elevale’s AI features are powered by wallet credits.
Your agency wallet can be used to fund AI activity across the client environments you manage. Wallet credits are displayed in US dollars, while checkout payments are processed in the purchaser’s local currency with any applicable local taxes added.
You can monitor your balance and purchase additional credits through your billing settings.
Go to: Admin → Billing
6. Invite your agency team
Invite colleagues who will help you manage clients, workspaces and the wider reseller account.
Agency roles allow your team to support areas such as:
Client onboarding
Workspace setup
Account management
Platform administration
Ongoing client support
Assign permissions carefully so each colleague has access to the tools and information they need.
Go to: Admin → Team
7. Configure your email settings
Configure branded transactional emails so communications sent from the platform match your organisation.
Depending on your setup, you can send emails through your chosen email provider or use webhook delivery for more advanced configurations.
Branded email settings can be used for messages such as:
Workspace invitations
Account notifications
Password and login emails
Subscription communications
Platform alerts
This step is recommended before inviting clients to ensure their first interaction with the platform feels consistent and professional.
Go to: Admin → Email
8. Create your first client workspace
Once your reseller environment is ready, you can create your first client workspace.
Add the client’s organisation details, apply the appropriate package and configure their initial workspace before inviting their team.
Depending on your service, you may also help the client set up:
Their strategic brief
Objectives and key results
KPIs and targets
Teams and responsibilities
Actions and projects
Reporting dashboards
Once the workspace is ready, invite the client’s users and provide any onboarding guidance included within your service.
Go to: Admin → Workspaces
9. Go live and grow
With your first workspace launched, you are ready to begin growing your reseller service.
Every client workspace can become a recurring revenue stream delivered under your own brand. You remain responsible for the client relationship, pricing and first-line support, while Elevale provides the underlying platform, infrastructure, security, updates and AI processing.
As your client base grows, you can standardise your onboarding process, create repeatable service packages and use Elevale to strengthen the ongoing value you provide.
Your responsibilities as an Elevale reseller
The reseller model is built around three clear areas of responsibility.
Your branding
You manage your app name, logo, colours, custom domain and legal links.
Your clients
You manage the commercial relationship, pricing, billing and first-line support.
Elevale infrastructure
Elevale manages the platform hosting, system updates, security and AI processing behind your reseller environment.
Legal requirements
As a reseller, you should publish your own Privacy Policy and Terms using the legal settings available within your branding area.
For white-label deployments, your organisation will typically act as the data controller for your clients’ personal information.
Where required, you should also enter into a Data Processing Agreement with Elevale to document how data is processed through the platform.
Ready to get started?
Open the Get Started Guide from your Reseller Dashboard to track your progress through the key setup stages, including branding, your custom domain, Stripe, your first workspace and agency team invitations.
The guide can be reopened at any time using the docked tab on the right-hand side of the platform.